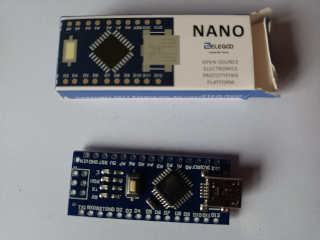
The Elegoo Nano V3 has three important differences from the genuine Arduino Nano product:
- It uses the CH340 chip rather than the FT232
- It uses the older boot loader
- It is smaller and doesn’t have a mounting holes on the PCB
These differences are mostly transparent, but do mean that installation in the IDE and physical mounting are different.
Installation in to Arduino IDE V2.x
Installing the Drivers
The CH340 and FT232 chips need different COM port drivers to each other. While the official FT232 chip drivers seem to be available by default, the CH340 drivers may not be (depending upon your OS). Both drivers were available by default on my Debian 12 system, but some MS Windows versions need additional drivers loading before using the Nano.
The drivers are available for Windows, Mac, and Linux from the Elegoo web site here: https://download.elegoo.com/?t=Nano3.0 and instructions on how to install them are here: https://www.elegoo.com/en-gb/products/elegoo-nano-v3-0
Uploading a Sketch
The Elegoo Nano V3 uses an older version of the boot loader. To do this:
- 1st set the select the board type as “Arduino Nano” like normal
- From the “Tools | Processor” menu select the “ATmega328p (Old Bootloader)” option.
That’s it. You are now good to go.
Physical Board Mounting
The Elegoo Nano V3 is almost the same as the genuine Arduino Nano (from a sketch viewpoint they are the same), but it is slightly physically smaller and crucially has no mounting holes in the PCB (well actually it has one, but that is all). Options for mounting that I have seen are:
- Use double sided tape
- Use a hot glue gun
- Use edge clips that are part of a 3D printed case
- Use PCB stand-offs that have 2mm right-angle triangular slot cut in to one of the sides. Then mount the board by placing one stand-off at each corner of the board.